Let’s learn how to create a custom WordPress admin dashboard for your clients. We cover custom welcome panels, widgets, and how to replace the entire dashboard.
First, make sure you’ve installed White Label or White Label Pro for WordPress. Once you have that done you will need to navigate to the White Label Settings page. Once you are there, click on the Dashboard tab. You will see several dashboard-related options:
- Custom Welcome Panel
- Widget
- Custom Dashboard
Custom Welcome Panel

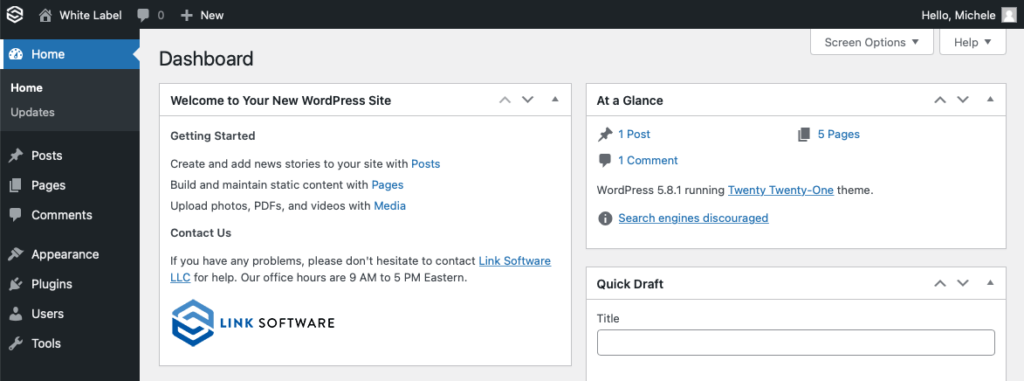
A Welcome Panel is a dismissable notification at the top of the WordPress admin’s dashboard. White Label allows you to create one of these, with any content you choose, to show to site administrators after they initially log in. You can create your own Custom Welcome Panel by entering any content you want inside of the WYSIWYG editor. Your content will replace the content of the default welcome panel WordPress normally generates.
Widget

White Label allows you to create a custom widget to display on your admin’s dashboards. First, decide if you want to use this feature by checking the Enable Widget box. Next, give your widget a title. The final step is to actually create the content of the widget itself. The widget content is built using the WYSIWYG editor that comes with WordPress.
Custom Dashboard

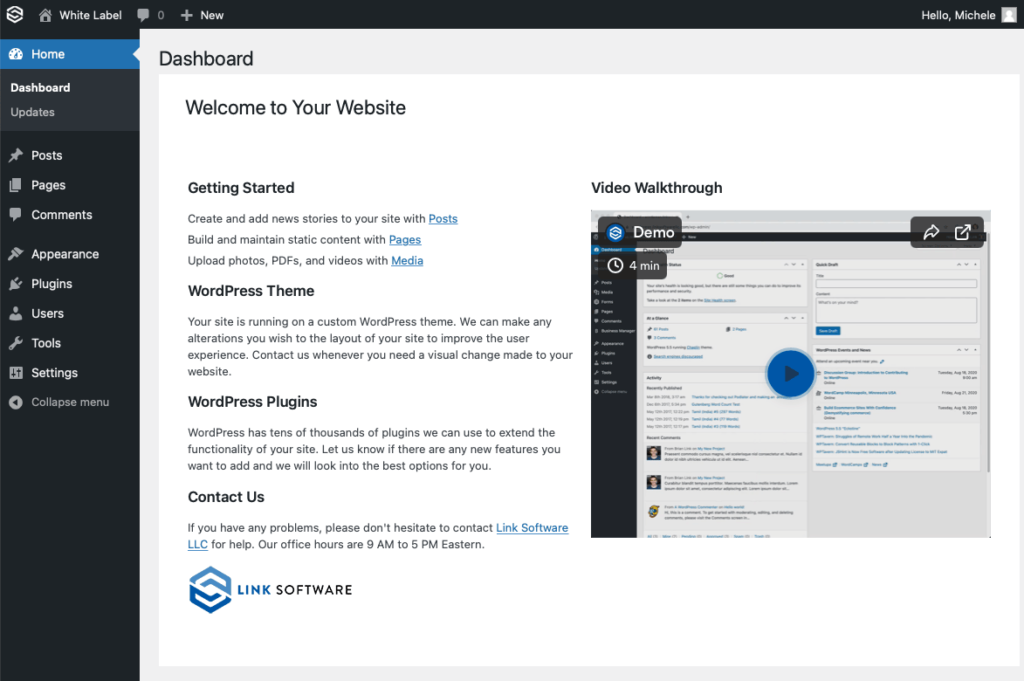
Finally, you can use White Label to replace the entire content area of the WordPress admin’s dashboard. This is the best solution if you want all of the default content, and layout, of the normal WordPress admin to be removed. Once again, White Label uses the built-in WYSIWYG editor provided by WordPress. Enter in your dashboard content, including any specific HTML you want, and make sure to check the Enable Custom Dashboard box to enable your dashboard.
White Label Pro offers support for Elementor Templates to be used as custom dashboards. Simply create your template in Elementor, save, and then select it from the dropdown in White Label’s settings.
