Let’s learn how to personalize your WordPress login page with your brand’s logo in a few simple steps! By the end of this article, you will have a custom WordPress login logo on your site.
First, make sure you’ve installed White Label or White Label Pro for WordPress. Once you have that done, you will need to navigate to the White Label Settings page. Once you are there, click on the Login tab.
Setting Your Custom WordPress Login Logo
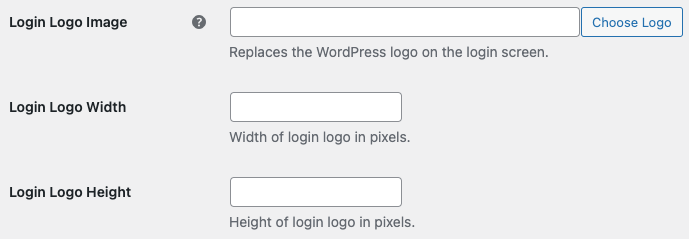
The Login tab will allow you to change multiple elements and colors on the WordPress login page. For this article, we want to focus on adding a custom logo. Under the Template section, you’ll find three fields to handle adding your own custom logo to the WordPress login page:

We recommend uploading the logo file (.png or .jpg) to the WordPress Media Library. You’ll just need to drop your logo file into the library and select the file. You can also manually input the URL of an external image although that is a less common approach.
Either way, when you have your Login Logo Image set, it is time to define the width and the height of the logo. These two fields will control the dimensions of the logo when it is loaded on the login page. It’s important that you set these before moving on.
Preview Your Login Screen
Save your White Label settings and see if the login screen preview has the correct image.

More Ways to Customize the WordPress Login
White Label comes with dozens of extra features that help you customize the WordPress experience for your customers. In particular, you can make plenty of changes to the WordPress login page. These White Label features impact not only the look and design of the login but some of its core functionality as well. You can learn more by visiting our WordPress login documentation.
