How to White Label SearchWP
WordPress search is, by default, not very good. The results aren’t always accurate, and the performance can be less than stellar. Thankfully, the third-party plugin SearchWP has come to the rescue. You can use SearchWP on your client sites to improve search functionality quickly and easily. It’s an excellent WordPress plugin. It also can be confusing for end-users and does include some annoying upsells. Our White Label WordPress plugin has features designed to help you improve that situation. This article will detail how you can use our plugin to white label SearchWP for your current and future client projects.
Our White Label WordPress Plugin
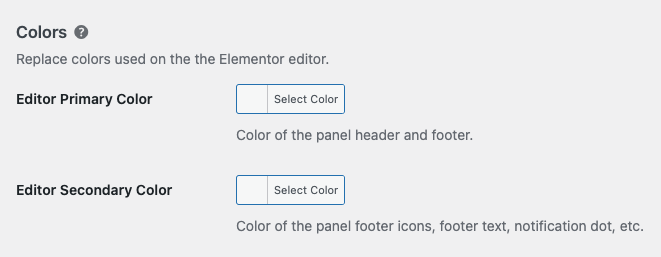
Let’s go over our White Label plugin for WordPress very briefly. White Label was built to make tweaking and adjusting the WordPress admin simple. The plugin comes with dozens of features designed to help you modify WordPress to better serve your clients. For example, you can use White Label to rebrand the WordPress login screen. Or you can use our plugin to change admin menus, create your own dashboard elements, or change the entire admin color scheme. There are also features to help you customize third-party plugins like Elementor or SearchWP (like we’re discussing further in this article).
Check our White Label’s features or read our documentation to learn more. We truly believe that White Label is the best plugin of its kind available. It’s simple and easy to use and makes a great addition to the plugins you use every day as a WordPress developer.
Finally, let’s get back to discussing how to white label SearchWP.
White Label has an area in its settings devoted entirely to SearchWP. These features, in addition to other settings in our plugin, allow you to white label SearchWP with ease. In this article, we’ll go through each of these features. By the end, you will have a working version of SearchWP that doesn’t have any branding, upsells, or unnecessary menus for your users to see.
Note: Many of the features covered in this post are only found in White Label Pro. You will need to purchase that version of our plugin to have access to each of the features for white labeling SearchWP.
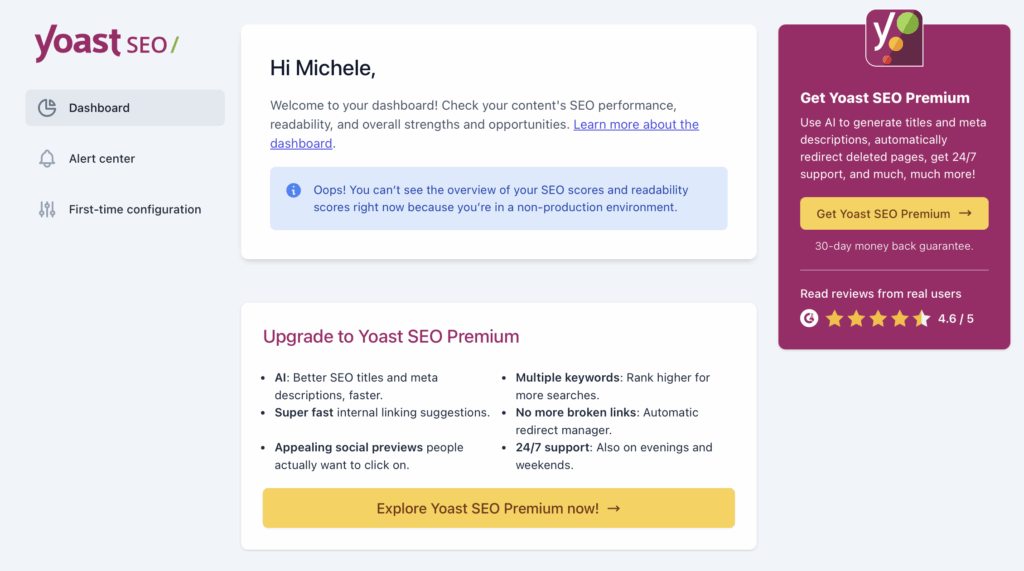
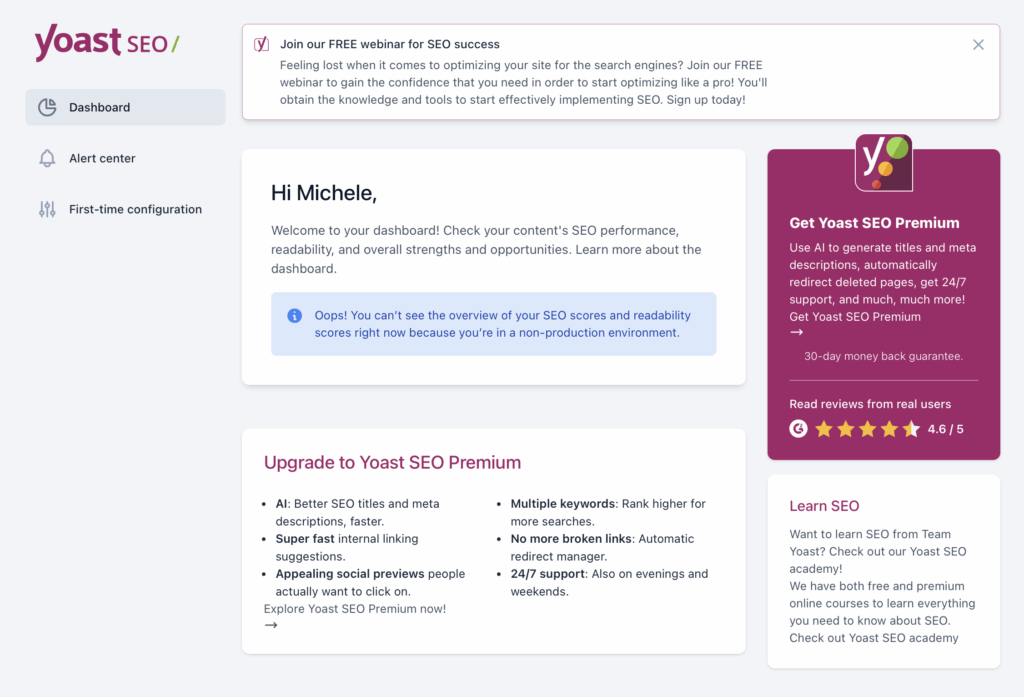
SearchWP Branding
White Label includes several features to help you hide or change SearchWP branding inside the WordPress admin experience.
Replace the SearchWP Name
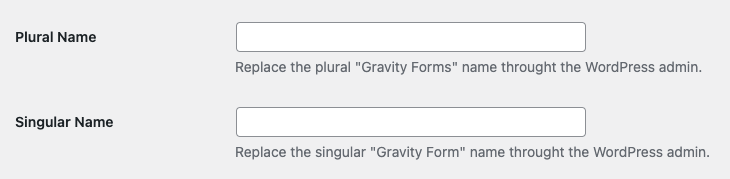
The simplest way to white label SearchWP is to replace the name of the plugin throughout the WordPress admin. You can change the display name of SearchWP by setting your own replacement text.

Hide the SearchWP Logo
You can also hide the SearchWP logo from the WordPress admin. This is done with a single, simple setting inside White Label. The logo is removed from the plugin’s settings screens instantly.
SearchWP Plugin Details
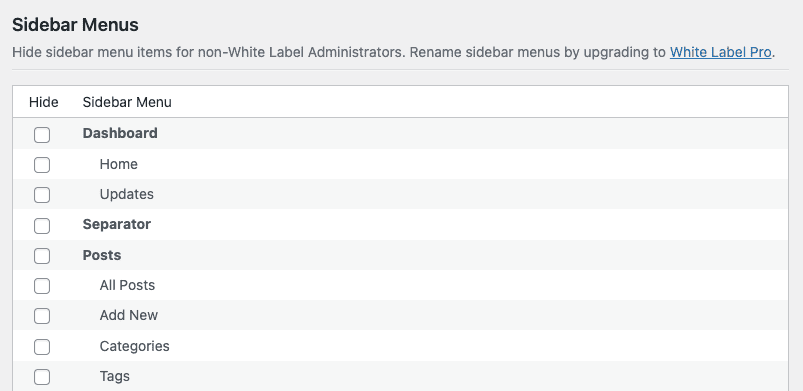
One of White Label’s most popular features is the ability to hide and rename plugin details. You can hide WordPress plugins from your users in seconds. Just find the plugin you want to hide from the list inside White Label’s Plugins tab. Click the appropriate checkbox, save your settings, and you’re done.
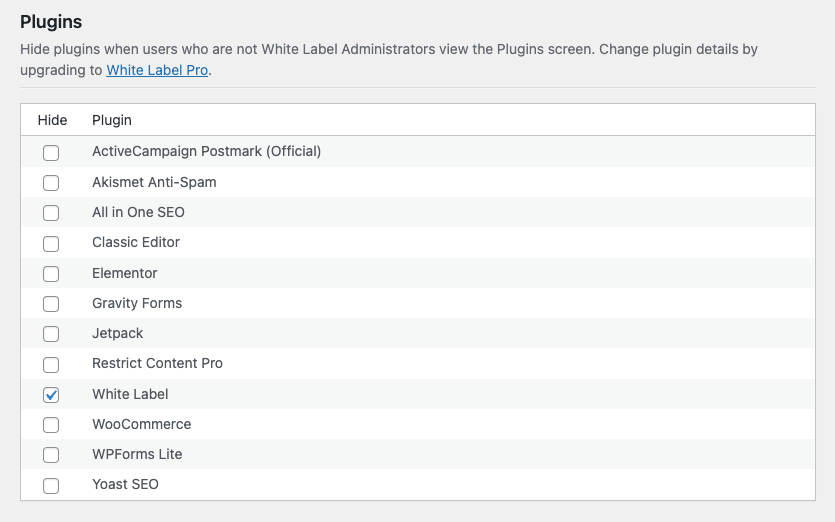
Immediately, the selected plugins, including SearchWP if you like, will be removed from the WordPress admin’s plugins screen. This feature also prevents users from being notified whenever selected plugins have updates. You’ll always be in charge moving forward.
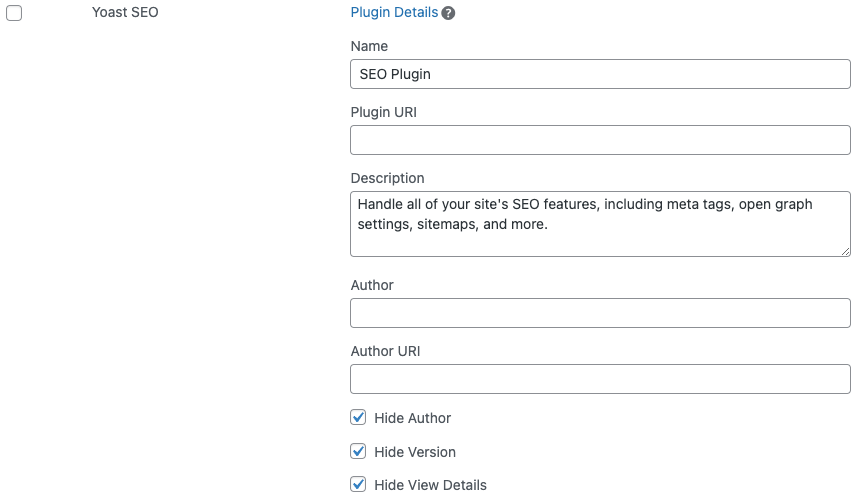
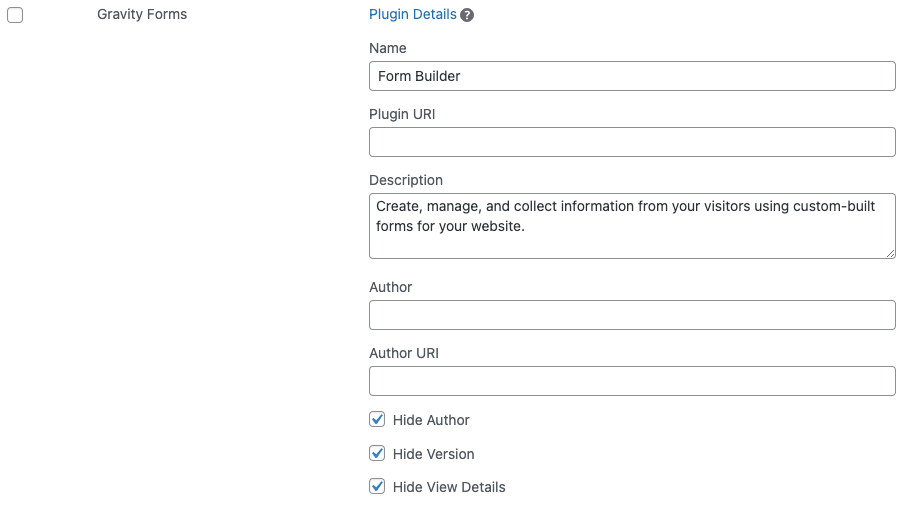
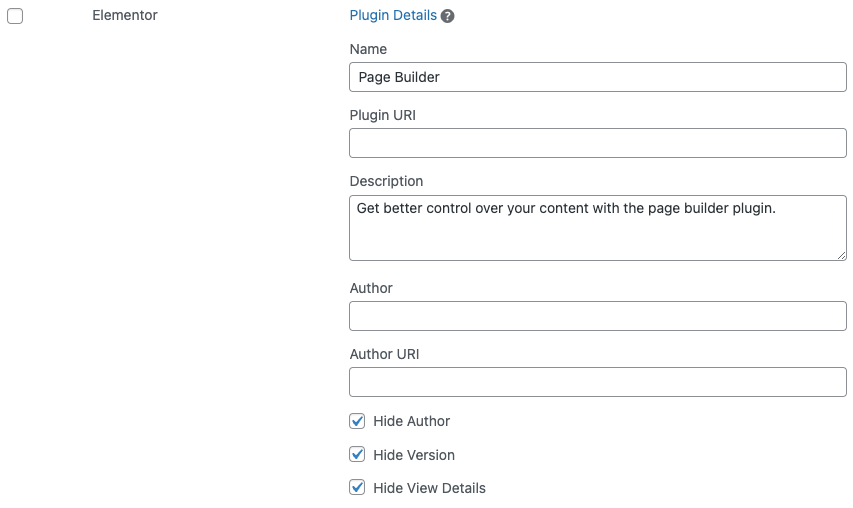
White Label Pro, the premium version of our plugin required to access SearchWP features, also lets you change WordPress plugin details. This is an incredible way to take white labeling SearchWP another step. White Label Pro lets you modify these items on the Plugins screen:
- Name
- Plugin URI
- Description
- Author
- Author URI
And the following plugin details can be removed entirely:
- View Details
- Author
- Version
SearchWP Menus
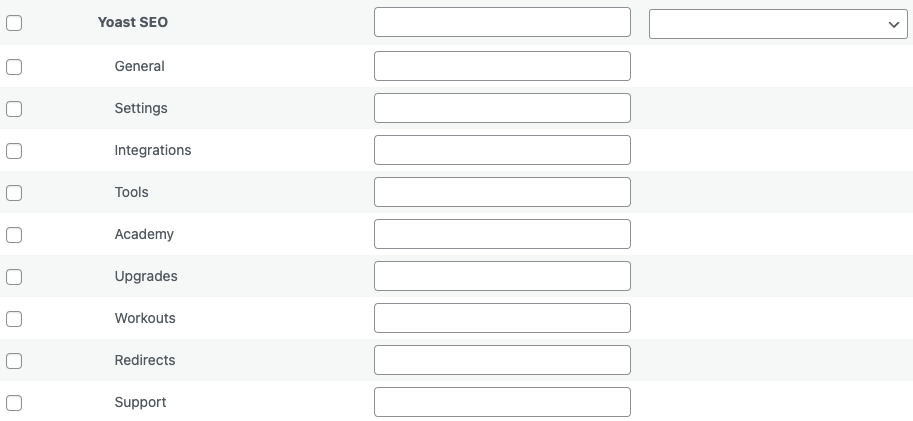
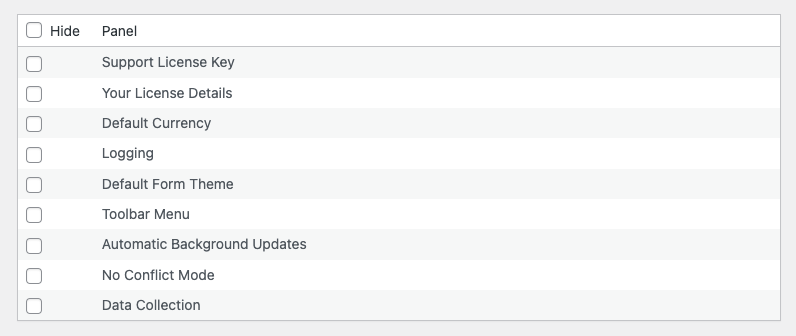
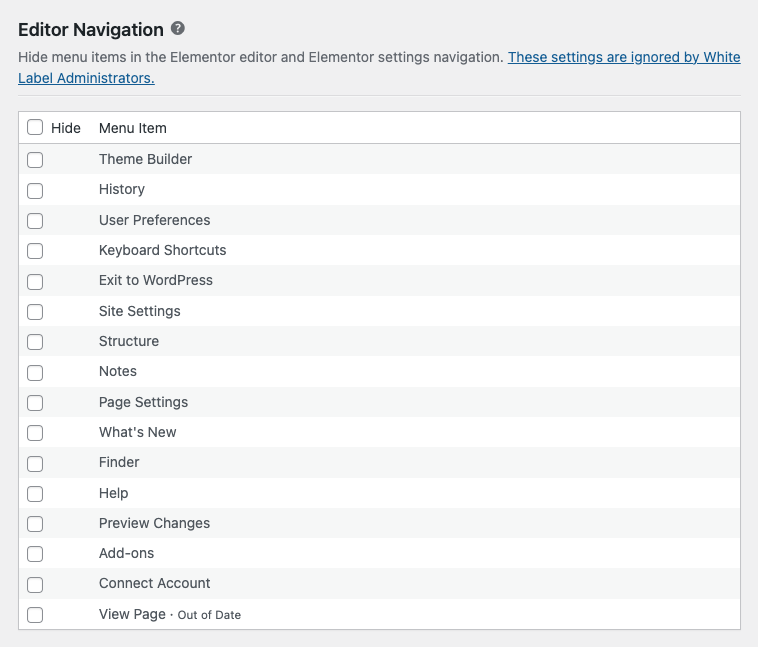
You can use White Label to modify the SearchWP menu items in the WordPress admin. White Label comes with features to let you hide WordPress admin menus. This easy-to-use interface gives you the ability to pick a menu item to hide by selecting a checkbox. It’s as easy as that.
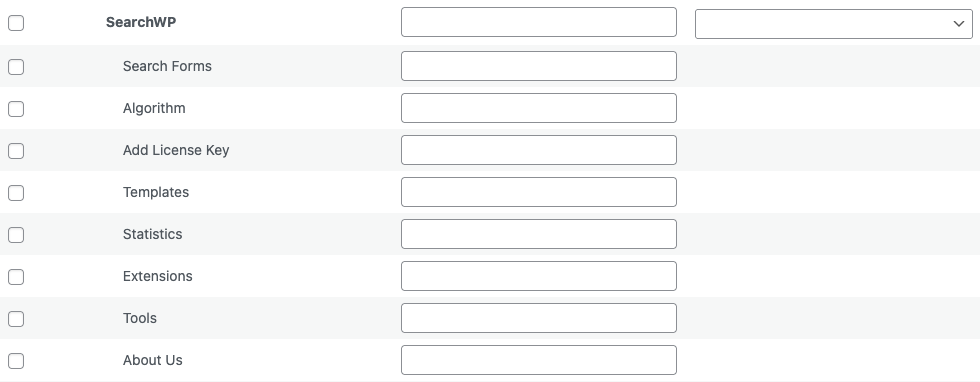
For SearchWP, we suggest hiding the following menus:
- Extensions
- Tools
- About Us
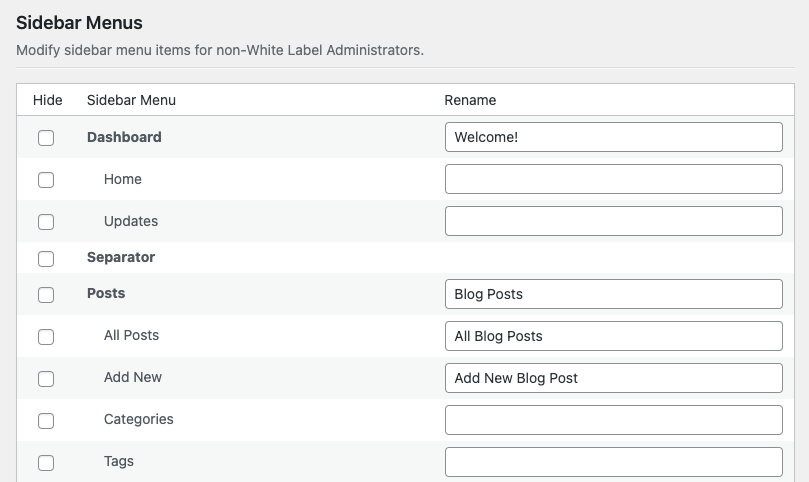
White Label Pro, required for many of these SearchWP features, also lets you rename WordPress admin menus and change WordPress admin menu icons.
Our plugin works with more than just the main WordPress menus, though.
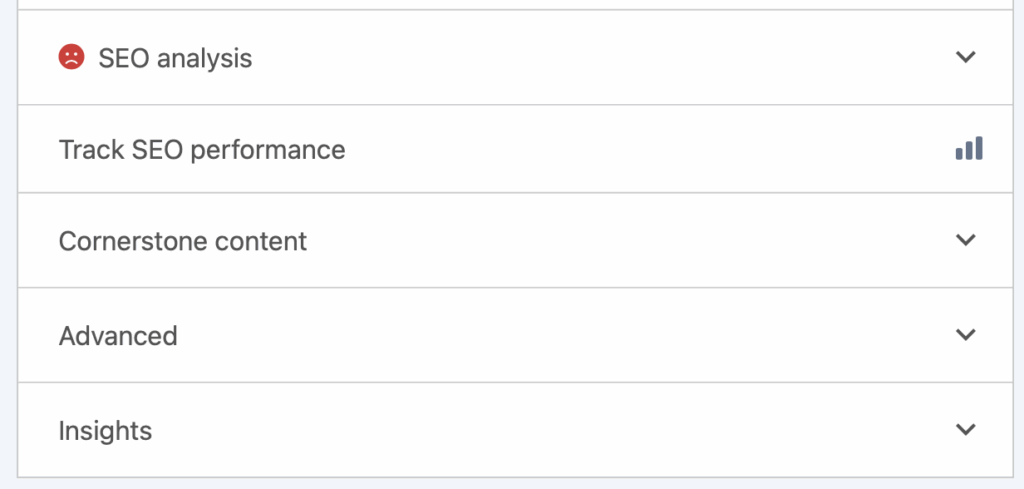
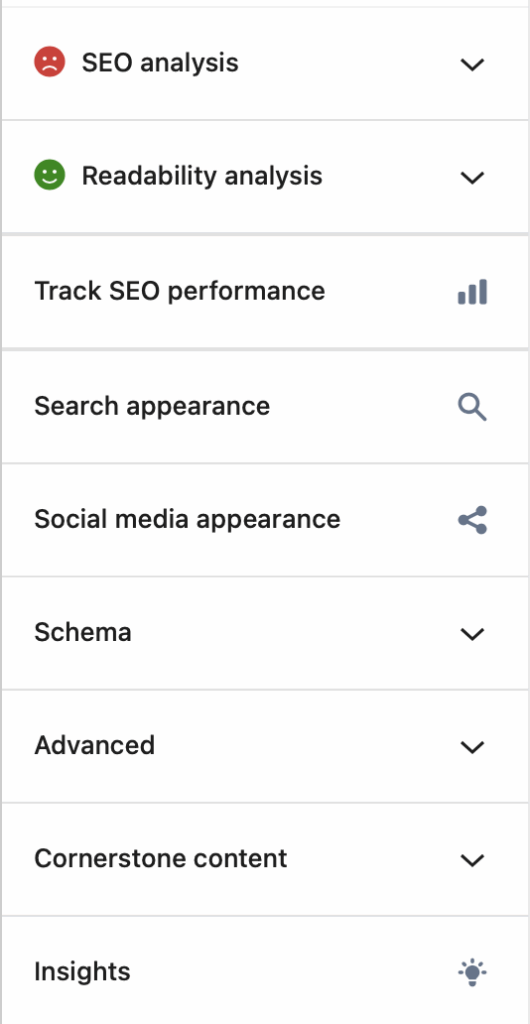
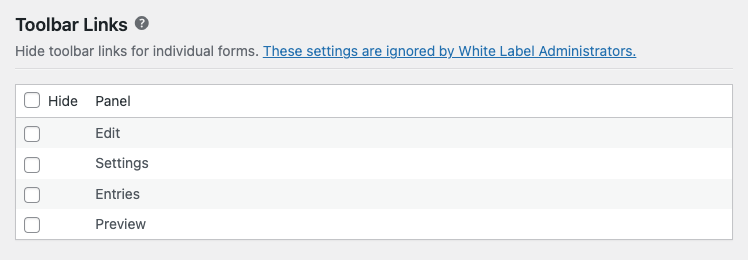
SearchWP has a series of screens, and many of them come with sub-menus for additional features. These features aren’t always something you want clients to have access to. With White Label, you can individually hide SearchWP menus from your users.
Header Menu
Every SearchWP screen has a header menu with icons for accessing plugin notifications and help. You can remove those items easily in White Label.

Algorithm Menu
The Algorithm screen in SearchWP has its own special sub-menu. These items can be hidden from users by checking their corresponding checkbox in White Label’s settings for SearchWP.

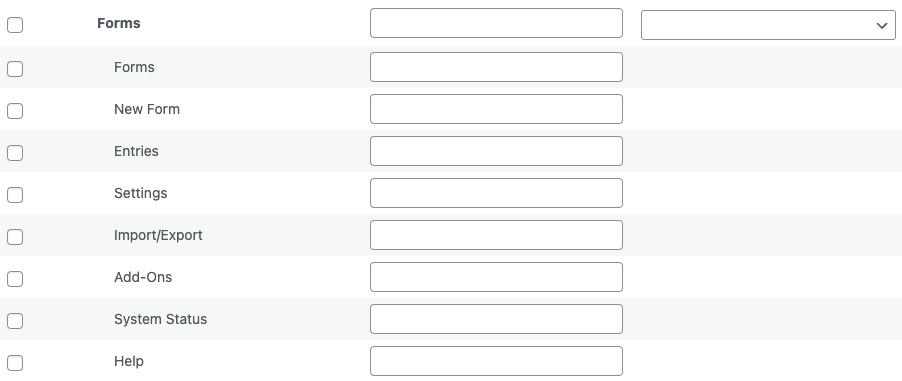
Settings Menu
SearchWP’s Settings menu has a sub-menu as well. As with the other sub-menus, White Label has support for hiding and removing those menu items as you please.

Tools Menu
Finally, the last sub-menu option White Label supports is the Tools menu in SearchWP. Again, with a few clicks, you can hide any choices you want from your clients.

SearchWP Upsells
SearchWP is a premium plugin you must pay for to have access to. It comes with multiple tiers, with each tier unlocking more features and capabilities. At lower tiers, the plugin’s interface includes upsell banners and notifications to encourage you to upgrade your license level. White Label includes a one-button solution to hide SearchWP upsells inside the plugin’s interface.

White Label SearchWP with our Plugin
That’s the conclusion of our article on how to white label SearchWP. You can begin using White Label for free immediately. The plugin is quick and easy to install and comes with a whole host of features at no cost. You’ll be white labeling your WordPress site in minutes. If you’re looking for more, you can upgrade to White Label Pro whenever you want. Doing so will provide you with access to many of the SearchWP features explained above.
Our plugin is the best way to white label WordPress to fit the needs of your clients. Keep your WordPress admin light, clean, and easy to use. White Label helps you decrease support requests from clients and makes troubleshooting their problems simpler. It’s the perfect plugin for WordPress developers and agencies. We hope you download it today to give it a try on your latest project.